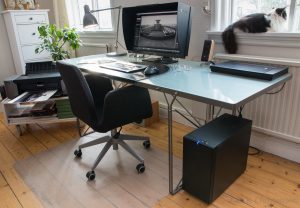
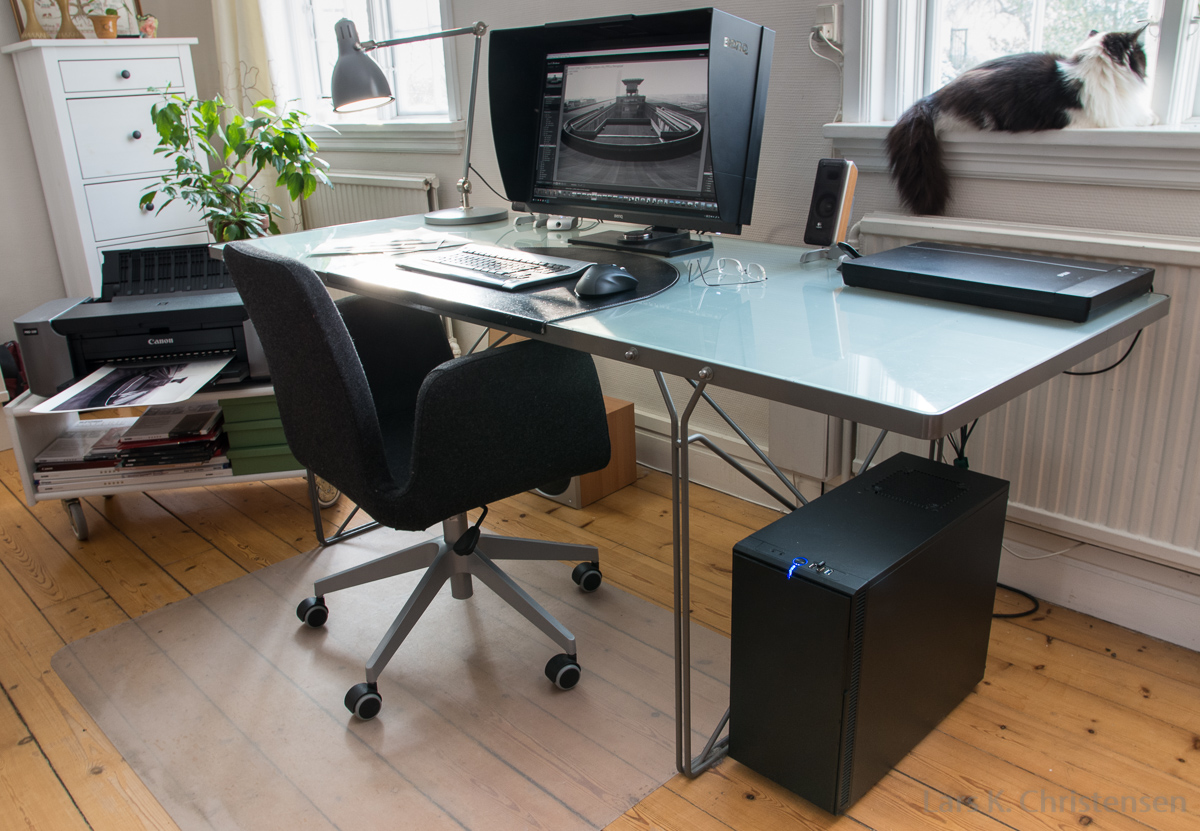
I have built myself a new darkroom. When I was young, that would have involved the use of plywood, power tools and black paint. Nowadays it’s easier: it just means putting together a new PC.
It wasn’t planned to be. But one day my stationary computer just wouldn’t start up. I tried every trick in the book, but had to face the fact that it was beyond salvation.
For a short moment I contemplated the possibility of just buying a new one – maybe one of those fancy all-in-one PC’s? But I came to the conclusion, that while that might save me some space from under my desk, it would also mean a more beefy screen – and more importantly: I would be stuck with a specific PC / screen combination and limited possibilities for future upgrades.
So, I decided to build a new PC, just as I had built the last one myself – and the one before that. A do it yourself PC is not necessarily cheaper than an off the shelf model – more likely the opposite. But the obvious advantage is that you can tailor-make it to suit your specific needs.
My need is a PC optimised for photo editing. More specifically: primarily for running Adobe Lightroom Classic, secondarily for running Photoshop. It would also be nice, if the machine would be good for video editing in Premiere Elements, even if this is not something I do very often. I’m also using my stationary PC for writing and editing texts – sometimes quite large ones. But a PC capable of running Lightroom efficiently will have no problems when it comes to text editing. Finally: I wanted a machine that would run as quietly and energy-effective as possible, within reasonable limits.
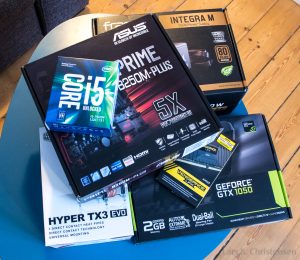
So I basically ordered a bunch of stuff from the internet and assembled it into a new PC. But of course I did a little research too, in order to select the components that would fit my purpose best, within my budget range. And since putting the machine together – and to work – I have been thinking about writing a little piece about the project, for those who may be planning on doing the same. In fact, it’s several months now since I finished the project. In the meantime, some of my considerations have been overtaken by events. Never the less: here is my story:
Back when I was searching for components for my new PC, there were some long established truths about Lightroom and computer hardware, which most users seemed to agree about. One of them being, that when it came to processors, Lightroom was not very good at utilising a large number of cores – so for CPU, the best choice would be to go for just four cores, but the highest clock frequency you could afford.
Another truth was, that in regard to RAM Lightroom has a sweet spot at 16 GB (Actually, Adobe has hinted at 12 GB, but with normal combinations of RAM modules, that would be 16 GB in the real world). Less will impair performance, but more will not make it faster. And finally: there is no need to use a lot of money on a fancy graphics card. Granted, Lightroom has a setting under “performance” called “use graphics processor”. However, GPU acceleration is used in the develop module only. And more importantly: unless your monitor has a 4K resolution, it doesn’t make much difference in real life. In fact some users have reported negative effects when enabling GPU acceleration with monitor resolutions below 4K. Neither does Lightroom make use of 10 bit colours, meaning that a standard 8 bit card would be sufficient. (But Photoshop can run in 10 bit mode, so that might be a consideration for some).
All in all, Lightroom has a reputation for being a rather slow piece of software. Of course, if you can and will invest what it takes, it is possible to build a machine that will make you do anything in Lightroom virtually instantly. Take a look at this impressive build for inspiration – or this one. But my needs are not such, that I can justify an investment in hardware of such magnitude. Consequently, what I came up with was a cheapskate’s version:
- Processor: Intel Core I5-7600K 3.8 GHz. At the time of selection, this was one of the latest generations of Intel processors. There are definitely faster processors out there, and an I7 could of course be better. But this one seemed to strike a good balance between price and performance.
- RAM: 2 x 8 GB DDR4 2400 MHz.
- Graphic card: Asus GeForce GTX 1050 2GB. This is a budget choice. If you are using Photoshop a lot and if you have a monitor capable of showing 10 bit colour, you should definitely consider a graphic card that supports 10bit via OpenGL, such as Nvidias Quadro line.
- Motherboard: Asus Prime B250M-PLUS. First of all this MoBo has the right socket and chipset for the chosen processor – which is the first thing you need to make sure, when building your own PC. Secondly it supports the newest and fastest types of RAM, disk-controllers, etc. Furthermore, it seems to be of solid quality. And finally its micro ATX, so that it will fit into my case of choice (se below).
- System and data drives: It’s quite some time now, since I swapped my system drive to an SSD in my old machine for the first time – and the performance gain was incredible. I decided to reuse my current SSD (A 250 GB Samsung 850 EVO), which spared me the hassle of reinstalling, but if you need to set up a new system drive you should definitely consider an M.2 drive, as these are even faster. While Windows and most program files – including Lightroom – resides on the SSD, a few less used programs plus all of my data – including my picture RAW files – resides on traditional HD’s, which are more affordable pr. GB.
- CPU-Cooler: Cooler Master Hyper TX 3 EVO. Quiet and effective.
- Power Supply: Fractal Design Integra M 550W. Supposed to be quiet.
- And finally the case: Fractal Design Define Mini. This is a micro-ATX format case, which I think is the best compromise between being not too big and still having enough space inside. It’s a solid case, sound-damped and unobtrusive in its design.
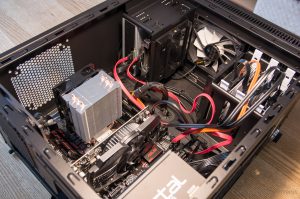
To be honest, I have experienced a few problems before when assembling a PC. But this time, everything came together nicely and the machine came to life at the first push of the on-button. I have only one little issue: It is almost quiet – but not completely. I know that I’m nit-picking here, but it emits a low frequency humming, which is very low in volume but still audible.
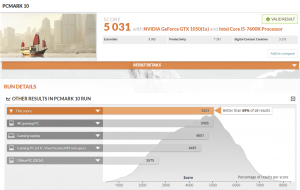
Apart from that, I really satisfied with the result. The typical question people ask about a PC like this is: how fast is it. For this post I downloaded and ran the benchmark program PCMark 10. It gave my new machine a score of 5031 overall and 5210 in digital content creation. How fast is that? I really wouldn’t know, but from the comparisons offered by the benchmark program, it seems pretty decent.
I could have timed some operations in Lightroom, but I really don’t want to go through the trouble. Let me put it this way instead: this machine might not be mind-blowingly fast – but it is fast enough to run Lightroom in a way, that keep me from getting annoyed.
Now, what was the event that overtook me? I was the launch of Adobes latest update to Lightroom Classic in February this year. In this update Adobe finally addressed a long standing criticism against Lightroom for being too slow, and especially for not making the best out of existing computer hardware. Basically, Adobe has improved Lightroom in two aspects: it will now make much better use of CPU’s with more than four cores. And it will make better use of RAM above 12 GB. Or to put it in another way: Lightroom’s performance will now scale much better with better hardware.
Does this mean that I would have made other choices, if I was going to put together a PC for photo-editing today? Not necessarily. I was going for the best possible build within a reasonable budget, not the very high-end type of machine, which will benefit most from this recent Lightroom update. But it goes to show, that how Lightroom is utilising hardware is definitely changing over time. Therefore: if you read this in two, three or twelve months from now, be sure to do your own research at places like this, before you decide how to put together the digital darkroom of your dreams.
